Call Us
85612441
Email Us
info@penetronph.com
Address
Antipolo City 1870

Call Us
85612441
Email Us
info@penetronph.com
Address
Antipolo City 1870

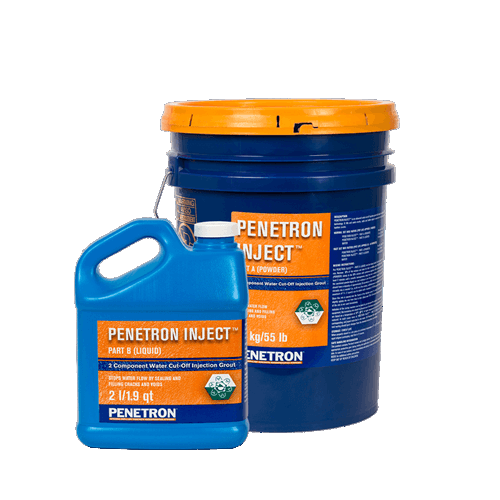
DESCRIPTION : PENETRON INJECTTM is an advanced two-component water cut-off injection grout with integral crystalline waterproofing ability. It waterproofs concrete and rock by filling and sealing cracks and fissures and can be used to fill hollow spots and voids to bring stability and strength to repaired areas. The extremely fine particle size of its ingredients allows PENETRON INJECTTM to penetrate into micro-fine, hairline cracks in concrete or rock fissures and seal them. In addition to the water cut-off grout, the integral crystalline waterproofing technology forms an insoluble structure to further aid in sealing these cracks and fissures. In the case of concrete, the crystalline network not only seals the cracks, but also the pores and micro-fine voids in the surrounding concrete, making the concrete itself waterproof. PENETRON INJECTTM has a very low, water-like viscosity, which allows it to enter and follow extremely fine cracks and displace any water present under injection pressure. Through its water cut-off action and its unique chemistry, it provides corrosion protection for embedded steel and anchors. In concrete, it also aids in re-passivating areas around injection sites reducing corrosion and restoring a protective layer around reinforcing and other steel embeds.
Tunnels and subway systems
Mines
Foundations
Water retaining structures
Underground vaults
Sewage and water treatment plants
Channels and reservoirs
Bridges
Basement retaining walls
Parking structures
Construction joints
DIRECTIONS FOR USE
Mixing Procedure:
Put PENETRON INJECTTM - PART B (LIQUID) into the mixing bucket. Add
water to the bucket and mix. Remove 10% of this mixture and store for
later re-addition. Slowly add PENETRON INJECTTM - PART A (POWDER) to
the 90% mixture mixing continuously with a suitable mixing tool. Mix for at
least 2 minutes until a smooth, homogeneous, lump free mix is achieved.
Add the stored 10% mixture to the combined powder/liquid mix and continue to mix for an additional one minute.
This completed mixture should have a viscosity of approximately 30
seconds in a DIN 4 mm cup. In cases where an extremely low viscosity mix
is needed (e.g., to fill very fine cracks), an additional 0.5 l (0.5 qt) to a maximum of
1 l (1 qt) of water can be added until a viscosity of 18 DIN-seconds is reached.
Once this mix is poured into the funnel of the injection pump, it is ready to
be injected. It is helpful to slightly agitate the mix from time to time,
approximately every 10-15 minutes, in case all of the mix is not used
immediately. Initiation of the curing reaction can be noted by an increase in
the viscosity. To avoid solidification in the equipment, the remaining mix
should be cleaned out of the funnel, pump and injection tubes.
Pot life times are based on a temperature of 20°C (68°F). In higher
temperatures the pot life and workability will be reduced. In such cases
more of PENETRON INJECTTM - PART B (LIQUID) can be added with a
corresponding and equal reduction in mix water. Penetron International,
Ltd. strongly recommends trial testing, should such changes from the
standard instructions be necessary.
Application:
PENETRON INJECTTM can be applied using most standard injection
procedures; however, as each individual application case will have its own
unique parameters, please contact your Penetron technical representative
for the most accurate support for your project. The following are the typical
application steps:
Step 1: Prepare crack to receive repair materials by sawcutting along the
length of the crack at a width of approximately 19-25 mm (3/4-1”). Sawcut
should be a reverse “V” or “U” shaped channel to avoid repair materials
from popping out.
Step 2: Remove the concrete in the crack area to a depth equal to the width
of the sawcut or 50% deeper. (e.g., if a 25 mm (1") wide sawcut is made, a 38
mm (1.5”) depth channel should be cut out).
Step 3: Clean the sawcut channel with a water pressure washer (3000 psi
min).
Step 4: Drill holes to receive the injection packers. Diameter and depth of
the holes will be as defined by the type and style of injection packer used.
Holes should be spaced out at 25-38 cm (10-15”).
Step 5: Place and tighten the injection packers.
Step 6: Partially fill the bottom of the channel and around each injection
packer with PENEPLUG® so escaping water is able to flow only through the
injection packers.
Step 7: Brush on a slurry of PENETRON® on PENEPLUG® and along the
remaining visible channel surfaces, as well as 7-15 cm (3-6”) on the sides of
the channel.
Step 8: As soon as the PENETRON® slurry is dry to the touch but still green, fill
the remaining channel with PENECRETE MORTARTM. PENECRETE MORTARTM
should be dry packed into the channel using a wood block and hammer to
ensure a tight fit with no voids.
Step 9: Allow PENETRON® / PENECRETE MORTARTM / PENEPLUG® to
completely set and dry for 2-3 days. During this time, water may flow freely
through the injection packers.
Step 10: Start injecting PENETRON INJECTTM from the lowest injection
packer. Pump until PENETRON INJECTTM starts to flow from the next
highest injection packer or until the pressure rises (maximum pressure - 5
bar). Close the first injection port and begin filling from the second injection
packer. Follow this sequence until the entire length of the repair is filled.
Step 11: Allow PENETRON INJECTTM to cure and harden for at least 2 days.
At this point, a visual inspection can confirm that all leaks have been
stopped and the injection packers can be loosened and removed.
Step 12: Dry pack all holes left by the injection packers with PENECRETE
MORTARTM. Use a dowel to tightly compress PENECRETE MORTARTM into the
holes.